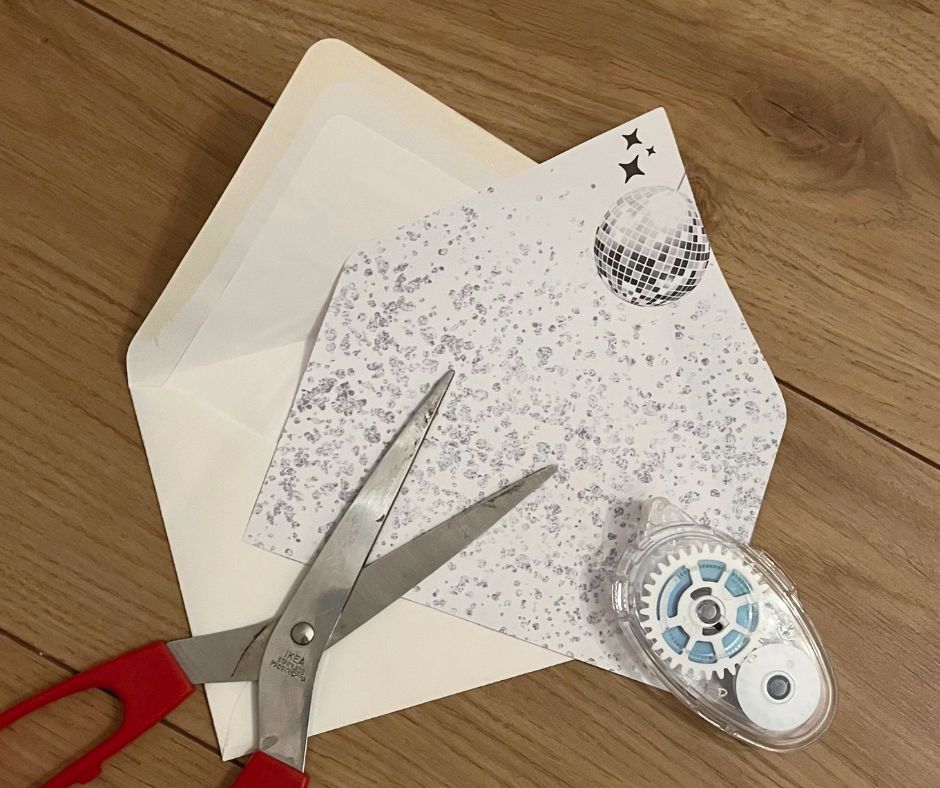
Do you want to add a unique detail to your wedding invitations? How about envelope liners. In this step-by-step guide you will learn how to edit, download, cut, fold and insert those to add a special detail to your invitation cards.
You need:
envelopes, envelope liner template, computer & printer, scissors, glue roller

How it works
- Choose the correct envelope format for your invitations
- For 5x7'' invitations, use A7 envelopes
- Edit the liner template if desired
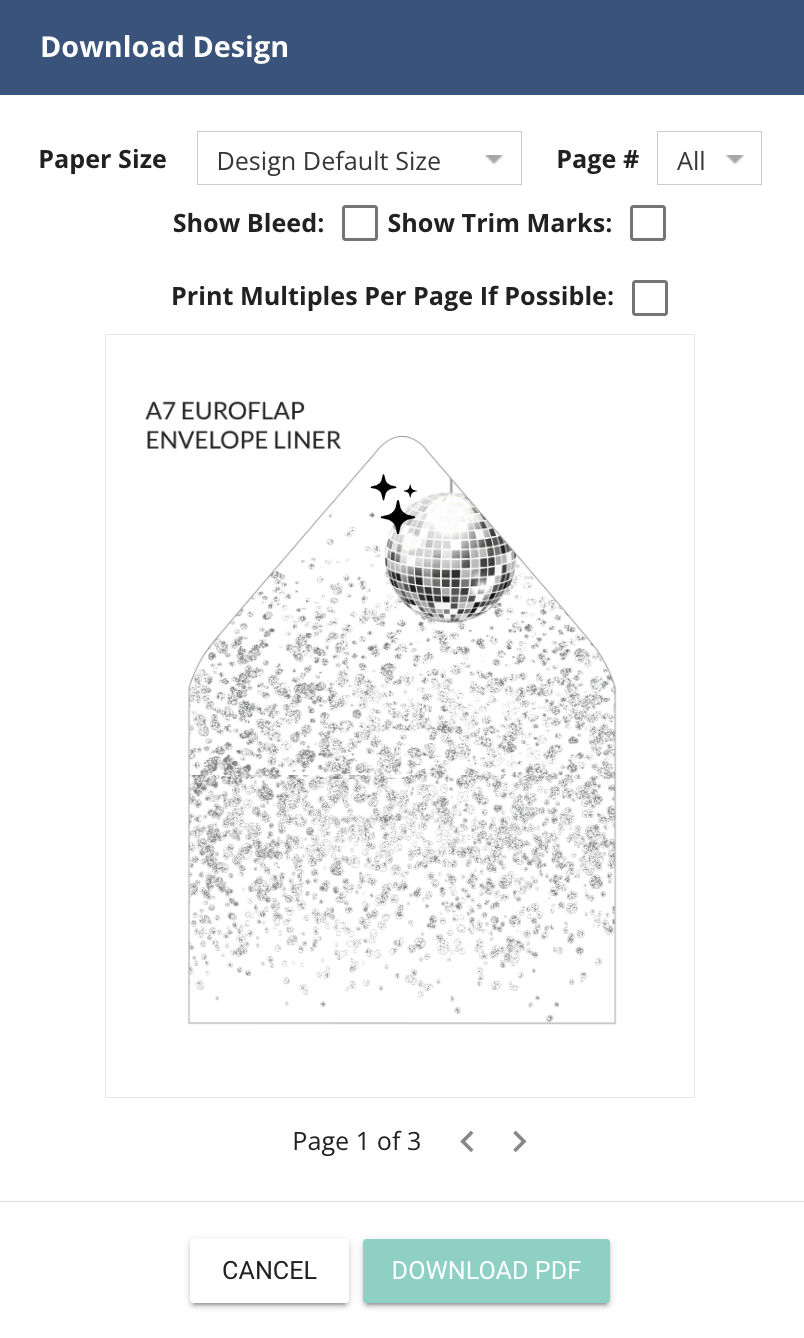
- Click the download button in the left sidebar and select "PDF"
- Ensure the download settings match the required specifications (see image below)
- Open the file on your computer and select 8.5x11'' for paper size
- Make sure to print at 100% to ensure proper sizing
- Print the liner on thin paper
- Cut along the line
- Position the liner inside the envelope and fold it
- Apply glue to the edges of the liner
- Fold the envelope together to secure the liner in place
- Voila! You've successfully added a liner to your envelope.
Envelope Liner Template for Historical Wedding with Royal Elements
Regular price
€5,00 EUR
Regular price
Sale price
€5,00 EUR
Unit price
per


